PrintWizard Tip 01
People frequently ask about PrintWizard, how it works, what they can do with it, etc. As time permits I’ll start posting some info here about how to use it. Unfortunately this won’t start at the beginning like a tutorial. I’m just going to post some nice tips as I happen to think about them. In this first tip I’ll show you one way to populate a form – and how to use an image as a form overlay rather than using pre-printed forms.
Want to get rid of the pre-printed forms? There are various products on the market. I was starting to work with one company where the development tools to create forms cost anywhere from $5k to $12k. Then add services and other features and you’re looking at about $50k for some nice looking reports. Of course that’s completely out of range for most companies. There are some other products that do this sort of thing for a lot less – maybe $999 to 1999? (I really hate those "99" numbers, just round them up!) Well, PrintWizard starts at $100 (no, not 99.99) and a server edition starts at only $300, so you can hardly go wrong even if you buy it, or just use a free trial. PrintWizard does a lot more than print form overlays (templates). Wow, I can’t even go into it in one post but over the next few posts I’m sure you’ll get the idea.
 For now let’s just do a simple overlay – which is really an underlay but let’s not quibble. I wanted to get a form for a simple travel expense report. The idea is to use this form as a template for the printer, and just have some MV business app provide data. Just for reference, PW doesn’t have a single MV-specific hook in it. There’s no MV connectivity, no link to a spooler, no BASIC subroutines. But that’s great because it means we can generate data any way we want from any application we want. It’s completely independent of data sources.
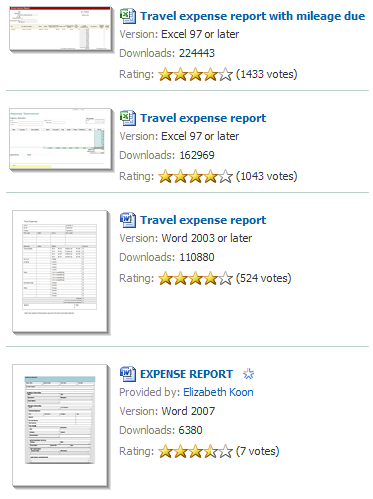
So I went to the Microsoft Office pages to find a template. Some of the options are shown in the first image here. Note (if you can read that small) that the first two are for Excel and the third is for Word 2003. I grabbed the third one, though the last one looks nicer but I’m not running Word 2007 yet.
My goal was to just fill in a couple fields of data. The templates from Microsoft are meant for people doing data entry to type some info, then tab to the next field. I didn’t need the fields, just the overall format. So I removed all of the fields from the form, and with some playing around I created a TIF image file. That’s essentially what we see in the images above.